
Mike
WELCOME BACK!
Welcome back to our blog! The last few days we have been busy building the setup for our studio where we will be filming our great shots and also creating the workspace we need to work on our projects. We also started to organize our projects in boxes so we can keep them sorted and have a good overview.
THE WALL
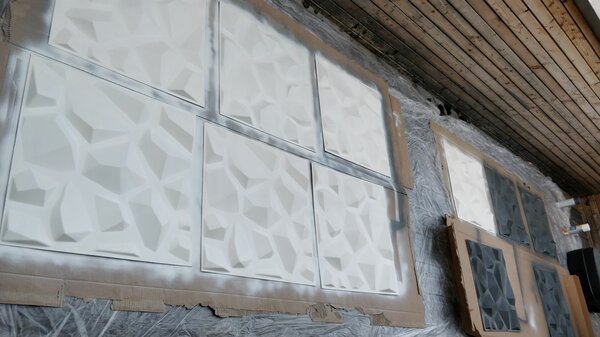
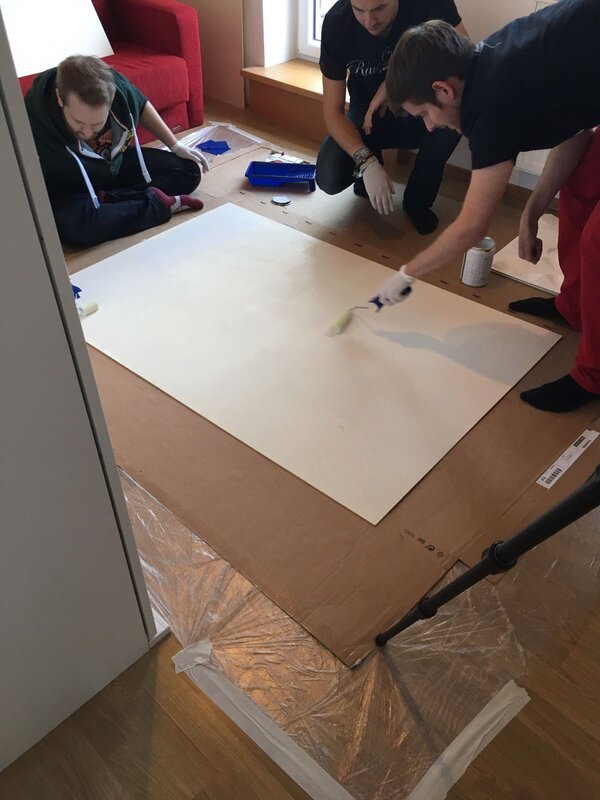
So for our studio background we have decided to already do our first project. We didn’t really film it because we thought it won’t be such a hassle to build. But soon after starting to build it we realized it’s much more work than originally anticipated. So we bought some awesome looky poly-fiber 3d panels from amazon. We then needed to coat them so they look shiny and are sealed off. The first coat we tired out cracked the surface of the panels so we needed to find a solution to achieve the polished and finished look. After trying out several products we found [insert awesome product here]. With this coat we also did not need to paint them white in the end or add anything else on top of it. The only thing we needed to do in the end is scraping of some leftover pieces on the surface that didn’t look right with some sandpaper.
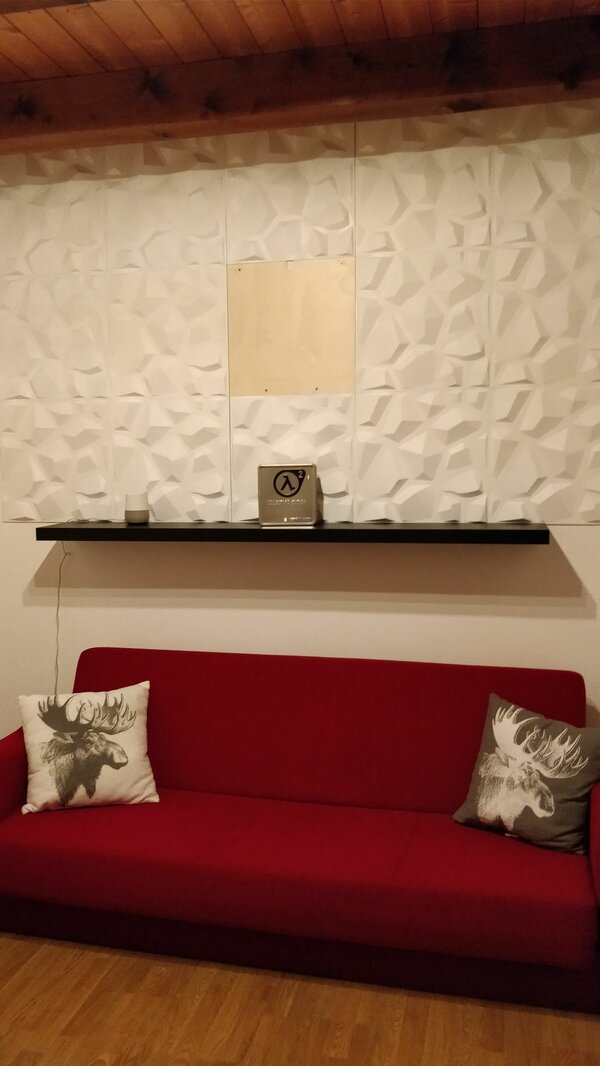
After adding the coat we started to glue them together. First we wanted to just glue them to the wall but after putting some thought into it we first glued them on three pieces of chipboard and mount them on to the wall for making them interchangeable in the future and easier to edit. We also left one paneel out in the middle for a later project.
To finish up the wall we also added a Shelf to hold the panels in place on the bottom to make them stick to the wall better. We used a black shelf to add some contrast to the scene. We also had a red couch and a nice small table to round it all up.
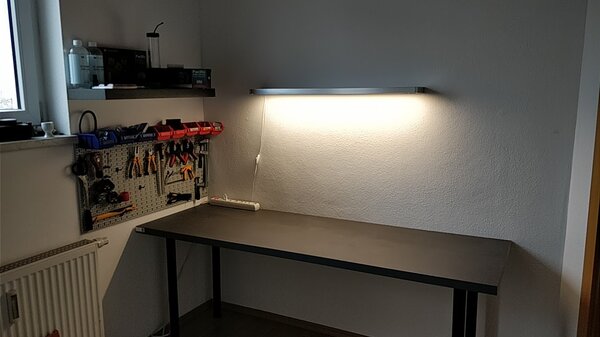
THE WORKSPACE
We also needed some workspace to create the awesome projects you will be seeing in the future.
So what do you think about the setup? We are happy for any feedback or ideas you might have!
See you in the next one, Modbros